Looking to get the most value from the Chasing Greatness Evolution in FC 26? Choosing the right player can turn a solid card into a game-changing star. Here are some of the best options to maximize your upgrade and strengthen your Ultimate Team. What Makes Chasing Greatness Worth It?The Chasing
How to Shut Down Passing Offenses in Madden 26 with the Bottleneck Jam Technique
In Madden 26, elite defenses are no longer just about play calls-they’re about leveraging abilities and mechanics to actively disrupt your opponent’s game plan. One of the most frustrating and effective defensive strategies in the current endgame meta revolves around the Bottleneck X-Factor. When used correctly, this technique can completely eliminate a receiver from the field and force pass-heavy opponents into uncomfortable situations. To maximize the effectiveness of this approach, many players look to build stronger rosters, often choosing to buy Madden 26 coins to secure top-tier defenders who can fully utilize abilities like Bottleneck at a high level.
This method is specifically designed for defending against passers. If your opponent is consistently running the ball, this strategy won’t be your primary solution. However, against players who rely on formations like Bunch X Nasty and structured route combinations, this approach can completely dismantle their offense.
Understanding the Core Concept
The foundation of this strategy is simple: use the Bottleneck ability to dominate press interactions at the line of scrimmage, then manually initiate a jam and switch control to another defender. Once executed properly, the defender with Bottleneck will continue to track and disrupt that receiver throughout the play-even while you control someone else.
Effectively, this turns the game into a “10 vs 10” scenario, removing one offensive weapon entirely.
Setting Up Your Defense
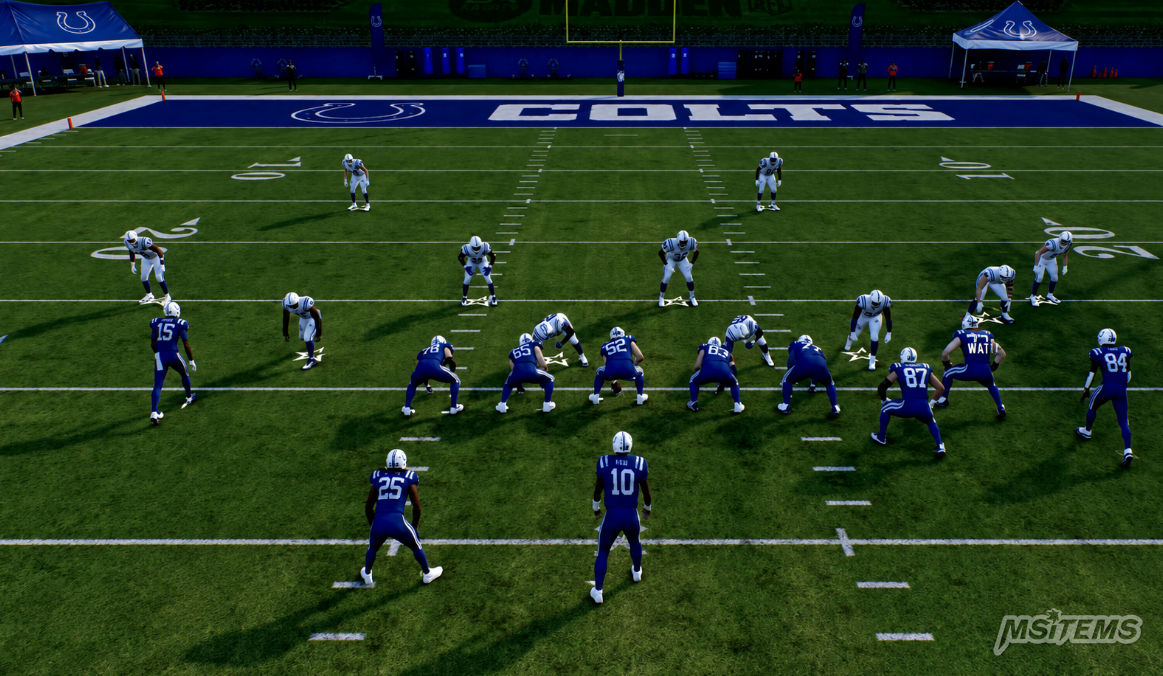
Start by selecting a balanced defensive formation that maintains deep coverage integrity. A zone-based setup like Tampa 2 is ideal because it keeps safeties over the top while allowing flexibility underneath. Nickel formations-especially symmetrical ones like Nickel Double Mug-are highly recommended since Bottleneck is typically available on defensive backs rather than linebackers.
Your goal is not to rely solely on man coverage, but rather to integrate this mechanic into a zone scheme so you don’t compromise your overall defensive structure.
Pre-Snap Adjustments
Before the snap, identify which receivers do not have the Max Security X-Factor active. This is critical, as Max Security can negate the effectiveness of aggressive press interactions.
Once you’ve identified your target receiver:
· Assign your Bottleneck defender to align over that receiver.
· Position yourself directly over the matchup.
· Prepare to initiate the jam immediately after the snap.
Executing the Jam Technique
At the snap, perform the following sequence:
· Hold the designated button (L1/LB) to trigger a jam animation.
· Make contact with the receiver to disrupt their release.
· Immediately switch control to another defender using the switch stick.
If done correctly, your Bottleneck defender will continue to engage and trail that receiver throughout the route. This prevents deep separation and neutralizes common route concepts like streaks, corners, and clear-outs.
Even if the receiver eventually breaks into their route, the delay and physical disruption often give your pass rush enough time to generate pressure.
Why This Strategy Works
Most offensive schemes-especially from formations like Bunch X Nasty-rely on spacing and timing. A typical setup might include:
· A streak route to clear out coverage
· A corner route attacking the sideline
· An underneath route exploiting zones
By jamming one key receiver, you disrupt the entire progression. The quarterback loses a primary read, timing is thrown off, and spacing collapses. Meanwhile, you remain free to manually defend other areas of the field.
Advanced Adjustments
Once you’re confident in the jam, you can begin reallocating your coverage:
· Shift safeties into quarters or hook zones
· Manually guard flats or crossers
· Adjust underneath zones to anticipate quick throws
Because you trust your Bottleneck defender to handle one receiver independently, you gain flexibility elsewhere.
If you have multiple players with Bottleneck, this strategy becomes even more oppressive. You can press multiple receivers, effectively locking down large portions of the field and forcing rushed decisions.
Final Thoughts
The Bottleneck jam technique is one of the most disruptive defensive tools available in Madden 26’s endgame. While it requires precise timing and awareness, the payoff is significant. By removing a receiver from the play and maintaining control over the rest of your defense, you can consistently shut down pass-heavy opponents. Pairing this strategy with a well-built team-whether earned through grinding or by acquiring cheap Madden 26 coins-can further enhance your ability to execute at a high level. Master this mechanic, and you’ll turn even the most polished offensive schemes into predictable-and punishable-mistakes.
Recently News
FC 26 Chasing Greatness Evolution: The BEST Players You Need to Upgrade

Recently Read
-
FC 26 Chasing Greatness Evolution: The BEST Players You Need to Upgrade
Jul-03-2026 PST |FC 26 -
ARC Raiders – Is the Game in Trouble or Just Evolving?
Jun-30-2026 PST |ARC Raiders